
So my Zagg Invisible Shield came in yesterday and a friend and I began the install process. This process seems very daunting at first, but with a little luck and a positive attitude, I am confident that most anyone can make this happen!
First it is very important to work in a dust free environment and ensure you have all the proper tools. Begin by turning your iPad 2 off. (Holding down the power button) I prefer for the install to clean the screen and back with rubbing alcohol. Be sure to apply it to a microfiber cloth or paper towel and use a very limited amount, using the rubbing alcohol cleans the screen very well and if required use some dust remover (air can) to get any fine particles that may linger. With this shield it doesn’t matter if you start the application process at the front or back, its your personal preference but I will recommend doing the back first to get some practice in, (if you buy the full body shield) as you can afford to ‘practice’ on the back so you can get the front perfect, but realistically it should all come out very well.
It goes without saying that your hands should be washed and clean. From there you take the solution that comes in the box and spray some on your fingertips liberally. Begin to peel and spray the shield once again very liberally; it’s basically to the point where you think it may be too much that you will be just fine. Initially my intent was to under spray it but watching a few YouTube videos quickly convinced me otherwise. It takes a bit to get the holes centered during this process but keep at it, it does work. Once you are satisfied with the position, use the provided squeegee and begin to systematically remove the excess solution from both the bottom and top of the screen to the best of your ability. In the end you will be left with what seems to be a lot of solution and a lot of air bubbles, but between 24-48 hours, these will work themselves out and you should be left with perfection. We saw a huge difference in the curing of the screen in about 6 hours. But there is a long way to go.
At the start as you can see it the pictures and in the YouTube video, it seemed like we had made an error in the install, and that there were too many bubbles left over. This ‘wet installation’ process as how it is known is intended to be this way and after 48 hours (what they suggest it will take) I will update the blog with how the final product looks. At this point I believe it is too early to tell if it is worth the ~$60 dollar investment (with shipping to Canada


FYI: There are a lot of YouTube videos on this install I watched them all and found this one to be the best one that should answer all your questions during the install and give you the best chances at doing it right. I have no affiliation with Zagg (I bought the shield with my own money) and no affiliation with the YouTuber and Blogger in the Video below.
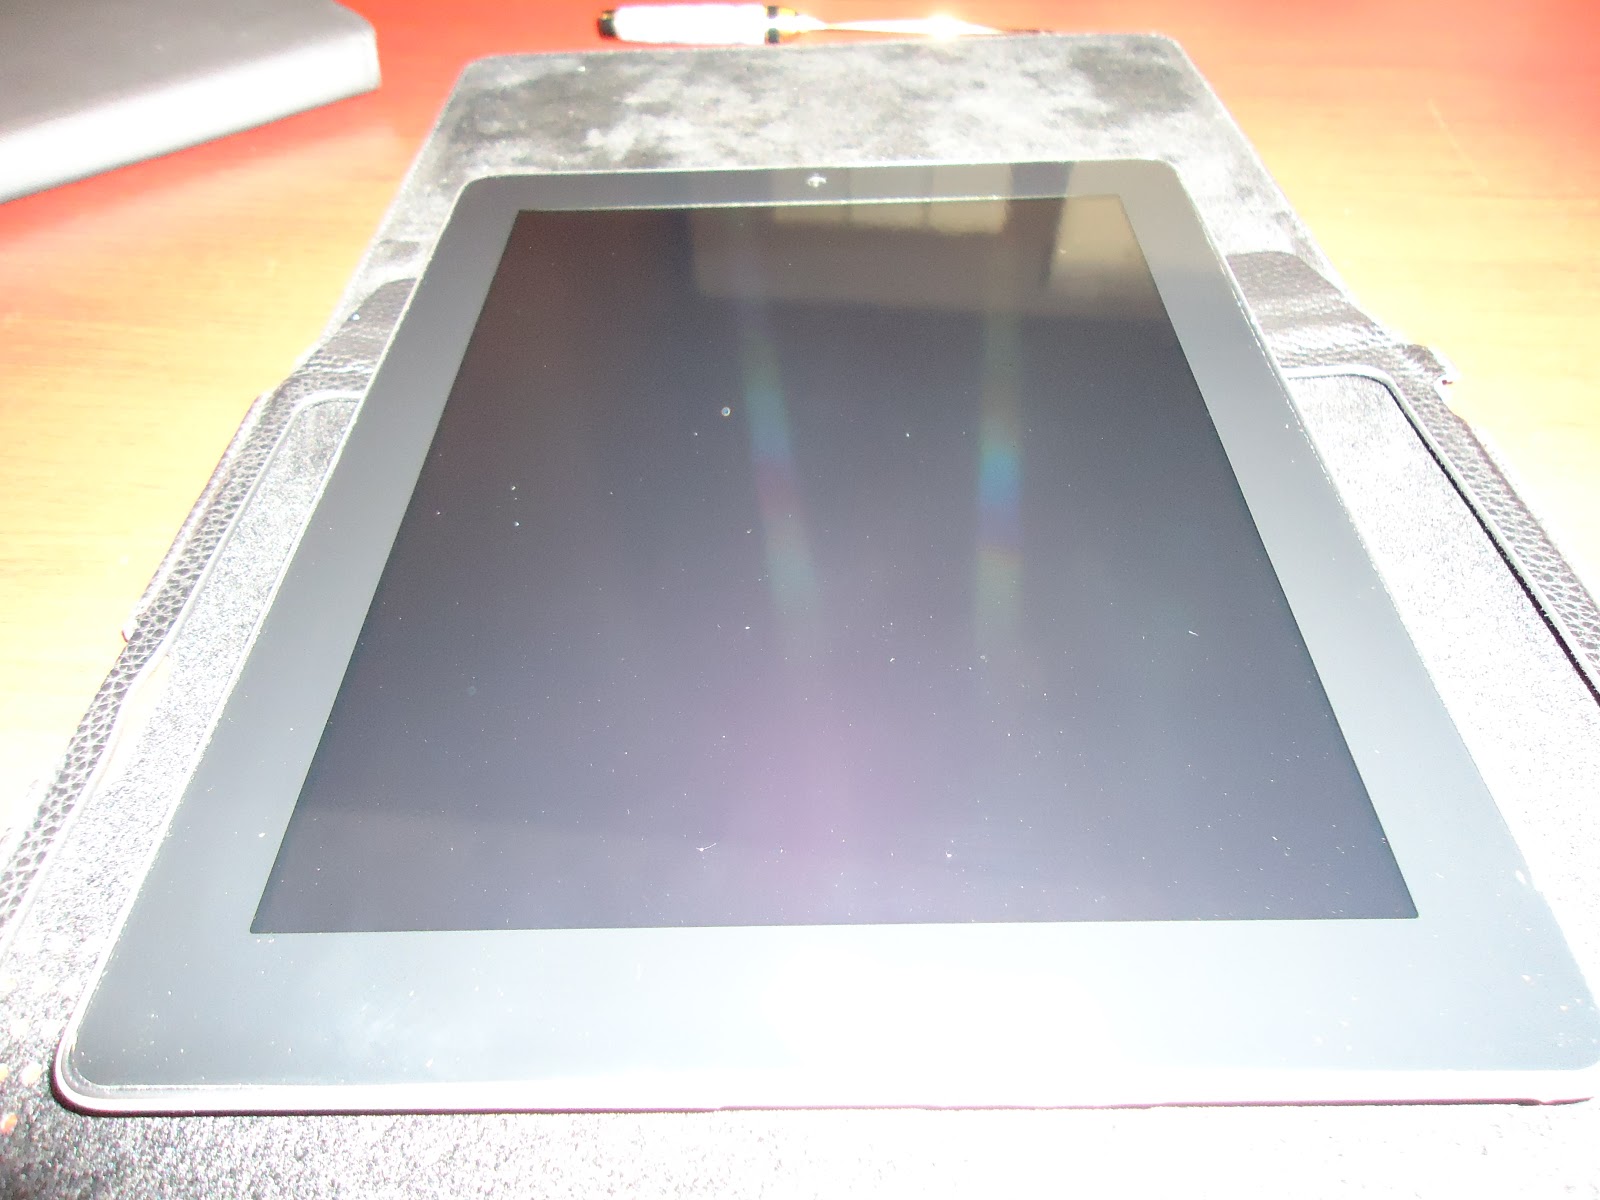
UPDATE: Here's a couple pictures after 48 hours. I have to admit, it feels and looks amazing. Those who don't know I have the Invisible Shield on, ask me why I haven't put one on yet. Judge for yourself!

No comments:
Post a Comment